simple valentine's day makeup tutorial
hey there, beauties! welcome back to the subtl channel. I'm Niara Alexis, and today we're diving into some valentine's day makeup. but first, let's address the visitor on my face – yes, I'm talking about that pesky hormonal breakout. but fear not, with a little skincare and a touch of makeup magic, we'll be ready to slay the day!
base & bronzer
I already applied my base, so now it's time to add some warmth and dimension with bronzer. I swear by the shade cocoa for my brown skin – it's the perfect balance of depth and warmth. using a light hand, I gently pat the bronzer along my cheeks for that bronzed vibe. I also add a touch to the my eyelid crease for some natural dimension.
blush bliss
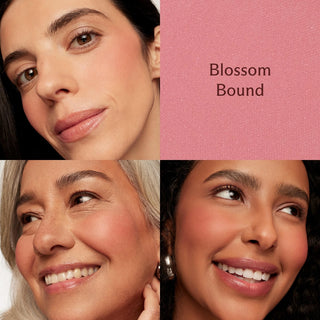
now, let's talk blush – my favorite step in any makeup routine. today, I'm mixing things up with a combination of blossom bound and pink in a pinch. if you really want your blush to last, my #1 tip is to layer a cream blush underneath you powder blush. I promise, it will stay put all day or night.
eyes that sparkle
for the eyes, I'm keeping it simple yet glamorous with a touch of sparkle. using the shade takeoff, I apply the sparkly side all over my lid and blend it into the crease with my finger. sparkly shadows always add that extra oomph to any look.
finishing touches
no makeup look is complete without a little mascara and a swipe of lip color. I opt for a natural, fluttery lash look and a lip shade that's a tad darker than your typical valentine's day pink––auburn adventure paired with a little translucent lip balm. who said only pinks and reds are romantic?
glow up
to add that extra touch of radiance, I dab a bit of cream highlighter in espresso martini on the high points of my face. remember, a little goes a long way – we want to glow, not blind!
the final look
and there you have it – our finished valentine's day makeup look. moody, romantic, and effortlessly chic. whether you're heading out on a date night or celebrating with friends, this look is sure to turn heads and steal hearts.
I hope you enjoyed this makeup tutorial as much as i enjoyed creating it. thank you for tuning in––until next time!


