this simple contouring hack went viral on tiktok - and today keira tries it out! follow along as keira tries out the tutorial from selena gomez's makeup artist, melissa murdick.
trying melissa's snatched face technique
hey, everyone! today, we're going to explore a fantastic makeup technique I recently discovered from a true pro, melissa, who happens to be selena gomez's makeup artist. she shares some incredible tips on tiktok, and honestly, when it comes to makeup, we should be tuning in to the experts, especially those working with our favorite celebrities. in this session, i'm going to test out her contouring and blush technique to achieve that beautifully snatched face effect. let's dive in!
beginning with the basics
before we venture into the snatched cheeks territory, i'll start with some foundation. i've been loving the 2.0 concealer formula lately so haven't used foundation much, but today is all about achieving the complete makeup look. so, i'll quickly apply foundation, ensuring to cover all the necessary areas.
a quick eyebrow touch-up
now that my foundation is set, i'll focus on my eyebrows. i've got my trusty mirror right here. my approach is to handle the brow pencil gently, using light strokes to mimic the appearance of natural hair. with my brows done, it's time to apply some lip balm as a base for my lips. i'll quickly create a simple eyeshadow look before we proceed with contouring and blush.
dabbling in eyeshadow
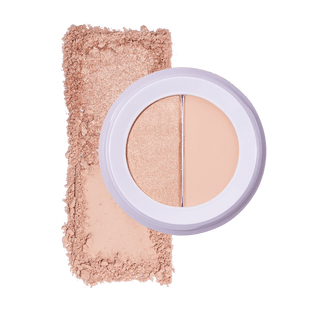
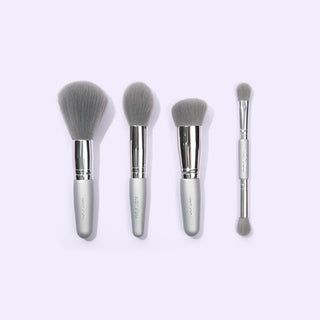
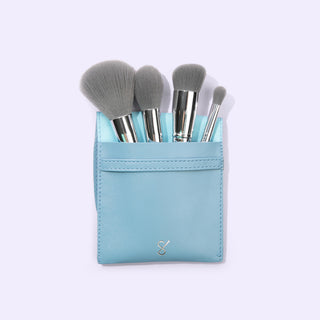
i'm opting for the jelly eyeshadow duo since it's one of my favorites. i'll use the eyeshadow brush from subtl's four-piece brush set. dual-ended brushes like this are incredibly convenient. i'll start by applying the shimmer with the flatter end. i like to tap the eyeshadow gently on the eyelids and then pat it to ensure an even and smooth application. then, i'll add a bit of the matte shade to my crease.
a little bit of concealer
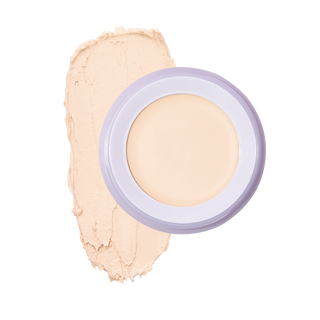
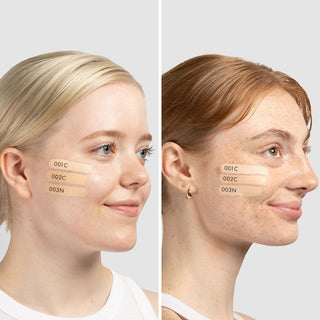
hold on a second, i nearly skipped concealer. my brain seems to be on the fritz today. let's correct that. i'll use concealer in shade 003n and warm it up quickly. then, i'll tap the concealer in place. by the way, my husband mentioned that my current hairstyle resembles the kardashians, so it seems fitting for today's snatched transformation.
it's contouring time
enough of the eye makeup; it's time to tackle the snatched face technique. in melissa's video, she used a contour stick, but we're going to use a darker concealer shade instead. she placed it just in the hollows, avoiding the creation of a stripe. for the a contour, it's important to choose a cool-toned shade, so i've selected 015c for this look. melissa utilized a concealer brush, but i'll use the stippling brush from the four-piece brush set. i've applied a bit of the concealer to my finger, and i'll use the stippling brush to apply it. after a bit of experimenting, i'm so happy with the result!
time to apply blush
melissa added a second video with some additional insights after her viral video. let's give it a quick watch. her original video has over 8 million views, and i'm eager to learn more. she's discussing the importance of following the angle created by the contour with the blush. so, i'll apply the blush following that angle – starting from down here and sweeping it up, just above where the contour was placed.
adding the final touches
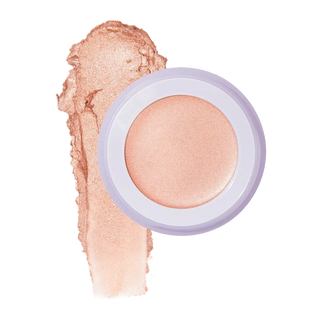
finally, i'll use the cream highlighter in rosé. it's a product i absolutely adore. i'll apply it on the highest part of my cheekbones. you can also add a bit of highlighter to your nose for a beautifully snatched effect. i've been aiming for a neutral, shimmery lip look, so i'll use the "stark naked" lip liner by urban decay. i genuinely love this shade; it matches my natural lip color well. i avoid overlining, just emphasizing my natural lip shape. i'll add some more lip balm; it's incredibly hydrating. on top of that, i'll apply the "rose" cream highlight because, as i mentioned earlier, i'm obsessed with it, and it works beautifully on the lips as well.
a bit more color
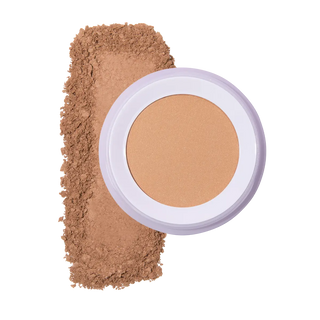
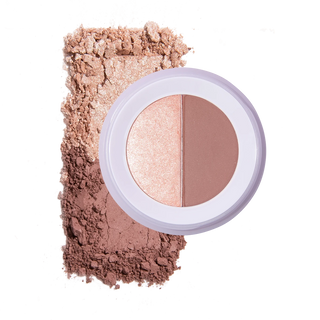
i feel like i could use a bit more color, so i'll try the powder blush in blossom bound. i'll use the tiniest amount and, following melissa's advice, apply it in an upward motion. to complete the look, i'll add a touch of bronzer in leche, because contouring and bronzing serve different purposes.
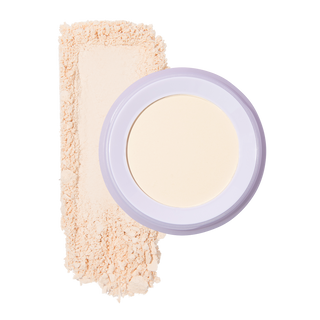
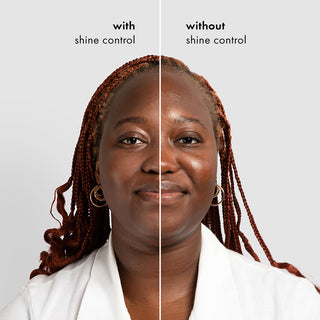
i'll use a bit of shine control powder, only where it's necessary to modify the face.
the final look
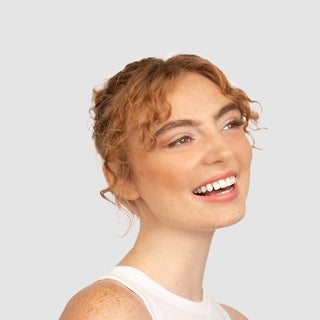
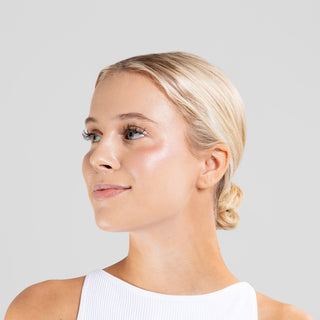
and there you have it – the final look. today, i experimented with new techniques and products. i'm still refining my contouring technique, but i've come to appreciate the concept of focusing on the hollows rather than creating a prominent stripe. we've learned a lot today, thanks to melissa's incredible videos. be sure to check them out on tiktok, and if you'd like me to try more of her tutorials in the future, let me know. everything i've used in this video is available, and remember, our staks are fully customizable, with refillable pans. don't forget to subscribe, so you won't miss any of our future videos. bye, everyone!

